
As a Python backend developer, working with Flutter was a bit challenging. The concept of widgets, state management, null safety and the lack of a clear convention for structuring the codebase made it difficult for me to get started.
However, after developing with Flutter both professionally and personally for 2 years, I am starting to feel confident with the framework. In this article, I will share my understanding of the core concepts of Flutter that should be helpful for beginners.
What is Flutter?
In essence, Flutter is a cross-platform UI toolkit similar to React Native. It allows you to build natively compiled applications for mobile, web, and desktop from a single codebase.
Whereas other frameworks use a JavaScript bridge to communicate with the native platform, Flutter uses Dart and a powerful rendering engine to draw widgets on the screen.
A lof of people are skeptical about the future of Flutter and Google products in general, a recent YouTube video with Craig Labetz (Developer Relations Engineer at Google) has made it clear that Flutter is not only here to stay but is actively used in Google products like Google Classroom, Google Earth, thus saving a lot of time and resources for the company, we can at least trust Google in saving money.
The Core Concepts of Flutter
![]() Create your Dashatar
Create your Dashatar
Flutter is built around a few core concepts that are essential to understand when developing applications with the framework. These concepts include:
Dart Programming Language: Flutter uses Dart, a modern, object-oriented programming language developed by Google. Dart is used for writing the application logic and managing the state of the application.
Null Safety: Dart, the programming language used in Flutter, has a strong type system with null safety. This means that variables cannot hold null values unless explicitly declared.
Widgets: Everything in Flutter is a widget, from the simplest text to complex layouts. Widgets are the building blocks of a Flutter application and are used to construct the user interface.
Declarative UI: Flutter is declarative, meaning that the UI is built to reflect the current state of the application. When the state changes, the UI is updated to reflect the new state.
State Management: Flutter uses a reactive programming model to manage the state of the application. When the state of a widget changes, Flutter automatically rebuilds the widget to reflect the new state.
Dart Programming Language
When I first started with Flutter, I was annoyed by the fact that I had to learn a new programming language (Dart) to build mobile applications, but Dart comes with a lot of features that make it a great language for building mobile applications :
Key Features of Dart
Modern Syntax: Dart’s syntax is familiar to developers with experience in languages like Java, C#, or JavaScript. It’s designed to be easy to learn and use, it is even better when using the VSCode extension for Flutter and code generation tools like
json_serializableandfreezed.Strongly Typed: Dart is statically typed, which means types are checked at compile time. This helps catch errors early and enhances code quality with better tooling support, this is a big deal when working with large codebases and kind of forces you to write better code (hello Python developers).
Null Safety: Dart’s null safety feature ensures that null references are caught at compile time, reducing runtime errors and making your code more reliable, an important feature when working with mobile applications.
Async/Await: Dart supports asynchronous programming with
Futureandasync/await, making it easy to handle operations that involve waiting for results, such as network requests, Flutter uses this feature extensively with theFutureBuilderandStreamBuilderwidgets.Hot Reload: With Flutter, Dart benefits from hot reload, which allows developers to see changes in real-time without restarting the application, once you get used to hot reload, you can’t go back to the old way of developing mobile applications.
Rich Standard Library: Dart includes a powerful standard library with tools and utilities for tasks such as networking, file I/O, and more, this is something that Python does also very well and it’s much appreciated.
Don’t put the cart before the horse
Learning Flutter before Dart is like learning React before JavaScript, you are going to run into a lot of issues and you will not understand why things are the way they are, I know I did and it was so time-consuming to handle simple errors such as null safety errors, once you get the hang of Dart, Flutter becomes much easier to work with.
Null Safety
Like object-oriented programming, null safety was a concept that I had a hard time understanding, coming from a Python background where everything is an object and everything can be None. In Dart and Flutter it is another story, null safety ensures that variables cannot hold null values unless explicitly declared.
One key concept to understand the needs of such paradigm is that null reference errors are runtime errors, which means they can only be detected when the code is executed. This can be a problem because the error might not be caught during development and could cause the application to crash in production, you don’t want that.
Tony Hoare, the inventor of the null reference concept, called it the “billion-dollar mistake” because of the extensive damage caused by null reference bugs over the years.
Null safety in Dart was a very big deal, it changed the way developers write code in Dart, it made obsolete a lot of libraries and packages and developers had to migrate their codebase to null safety, but as always with Flutter, the dev team made the migration process as easy as possible.
Null Safety in Dart: Null-Aware Operators
To handle nullable values, Dart provides null-aware operators, which help avoid null reference errors.
1. ?? (Null-Coalescing Operator)
The ?? operator returns the value on the left if it’s not null, otherwise it returns the value on the right.
Example:
String? name;
print(name ?? "Guest");  // Outputs: "Guest" if 'name' is null
In this example, name is null, so the output is "Guest". If name had a value, it would print that value instead.
2. ??= (Null-Aware Assignment Operator)
The ??= operator assigns a value to a variable only if the variable is null.
Example:
String? title;
title ??= "Default Title";  // Assigns "Default Title" only if 'title' is null
print(title);  // Outputs: "Default Title"
If title was already assigned a value, the existing value would remain unchanged.
3. ?. (Null-Aware Access Operator)
The ?. operator allows you to access a property or method of an object only if the object is not null. If the object is null, it returns null instead of throwing an error.
Example:
String? message;
print(message?.length);  // Outputs: null, as 'message' is null
If message is null, the expression message?.length safely returns null without causing a runtime error.
4. ! (Null Assertion Operator)
The ! operator asserts that a value is non-null. Use it when you’re certain a nullable variable has a non-null value at a specific point in the code. If the variable is null, it throws an error at runtime.
Example:
String? description;
description = "Dart Null Safety";
print(description!.length);  // Outputs: 17
In this case, the ! tells Dart that description is not null and it’s safe to access its length. However, use it with caution, as using ! on a null value will cause a crash.
Dart Null Safety: Key Principles
Dart’s null safety is built on two core design principles:
Non-nullable by default: Variables are non-nullable unless you explicitly allow them to be
null. This default was chosen because most values in APIs are non-null in practice.Fully sound: Dart’s null safety is sound, meaning the compiler can guarantee that non-nullable values will never be
null. Once your project and dependencies are migrated to null safety that is.
The Widgets System in Flutter
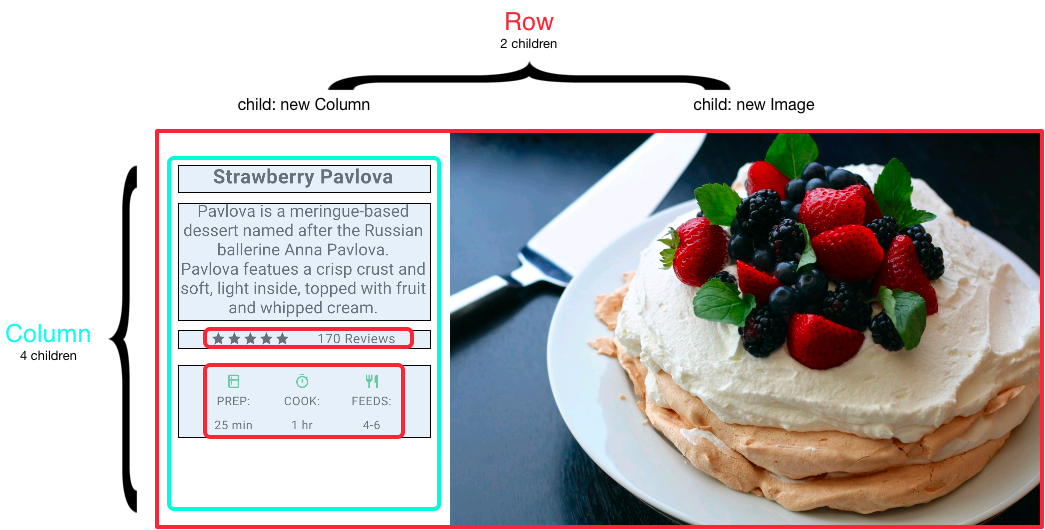 In this example everything is a widget, the text, the column, the icon, the image…
Flutter’s widget system is designed with a modern framework that draws inspiration from React. The core concept is to construct your UI using widgets. Each widget defines how its view should appear based on its current configuration and state.
When a widget’s state changes, it updates its description. The Flutter framework then compares this new description with the previous one to determine the minimal set of changes required to update the render tree and reflect the new state.
Having said that, Flutter widgets can be very confusing at first, building simple Text widgets with Padding widgets can be a bit overwhelming by the amount of code you have to write and the verbosity of the code, for example, the following code snippet is a simple Flutter application that displays a Text widget with some padding around it:
void main() {
    runApp(
       const Padding(
                padding: const EdgeInsets.all(8.0),
                child: Text('Welcome to Flutter!'),
        ),
    );
}
The runApp() Method explained
The runApp() function takes the given Widget and makes it the root of the widget tree, in the code snippet above, the Padding widget adds padding around the Text widget, the widgets in th example consist of two widgets, the Padding widget and the Text widget which is a child of the Padding widget.
Why Am I Using The const Keyword?
The const keyword is used to create compile-time constants. In the example above, the Padding and Text widgets are immutable and won’t change during runtime. This can help improve performance by reducing the number of objects created at runtime, it is an important concept in Flutter and Dart in general but if you are using the VSCode extension for Flutter, the extension is smart enough to add the const keyword for you, nonetheless, small optimizations like this can make a big difference in the long run.
Think declaratively

Flutter is declarative. This means that Flutter builds its user interface to reflect the current state of your app.
In Flutter, the relationship between the UI and the application state can be expressed with the formula:
UI = f(state)
- UI represents the layout displayed on the screen.
- f denotes your build methods.
- state refers to the current application state.
When the application’s state changes (e.g., a user press a button), you update the state. This triggers a complete redraw of the user interface. Unlike imperative UI programming, where you explicitly change UI elements (e.g., widget.setText), Flutter’s declarative approach rebuilds the UI from scratch based on the new state.
Since Flutter uses a powerful rendering engine, it can efficiently update the UI by comparing the previous and current states. This approach ensures that the UI is always in sync with the application state and is less prone to developer errors.
Here’s an example of declarative UI programming in Flutter:
State Management in Flutter
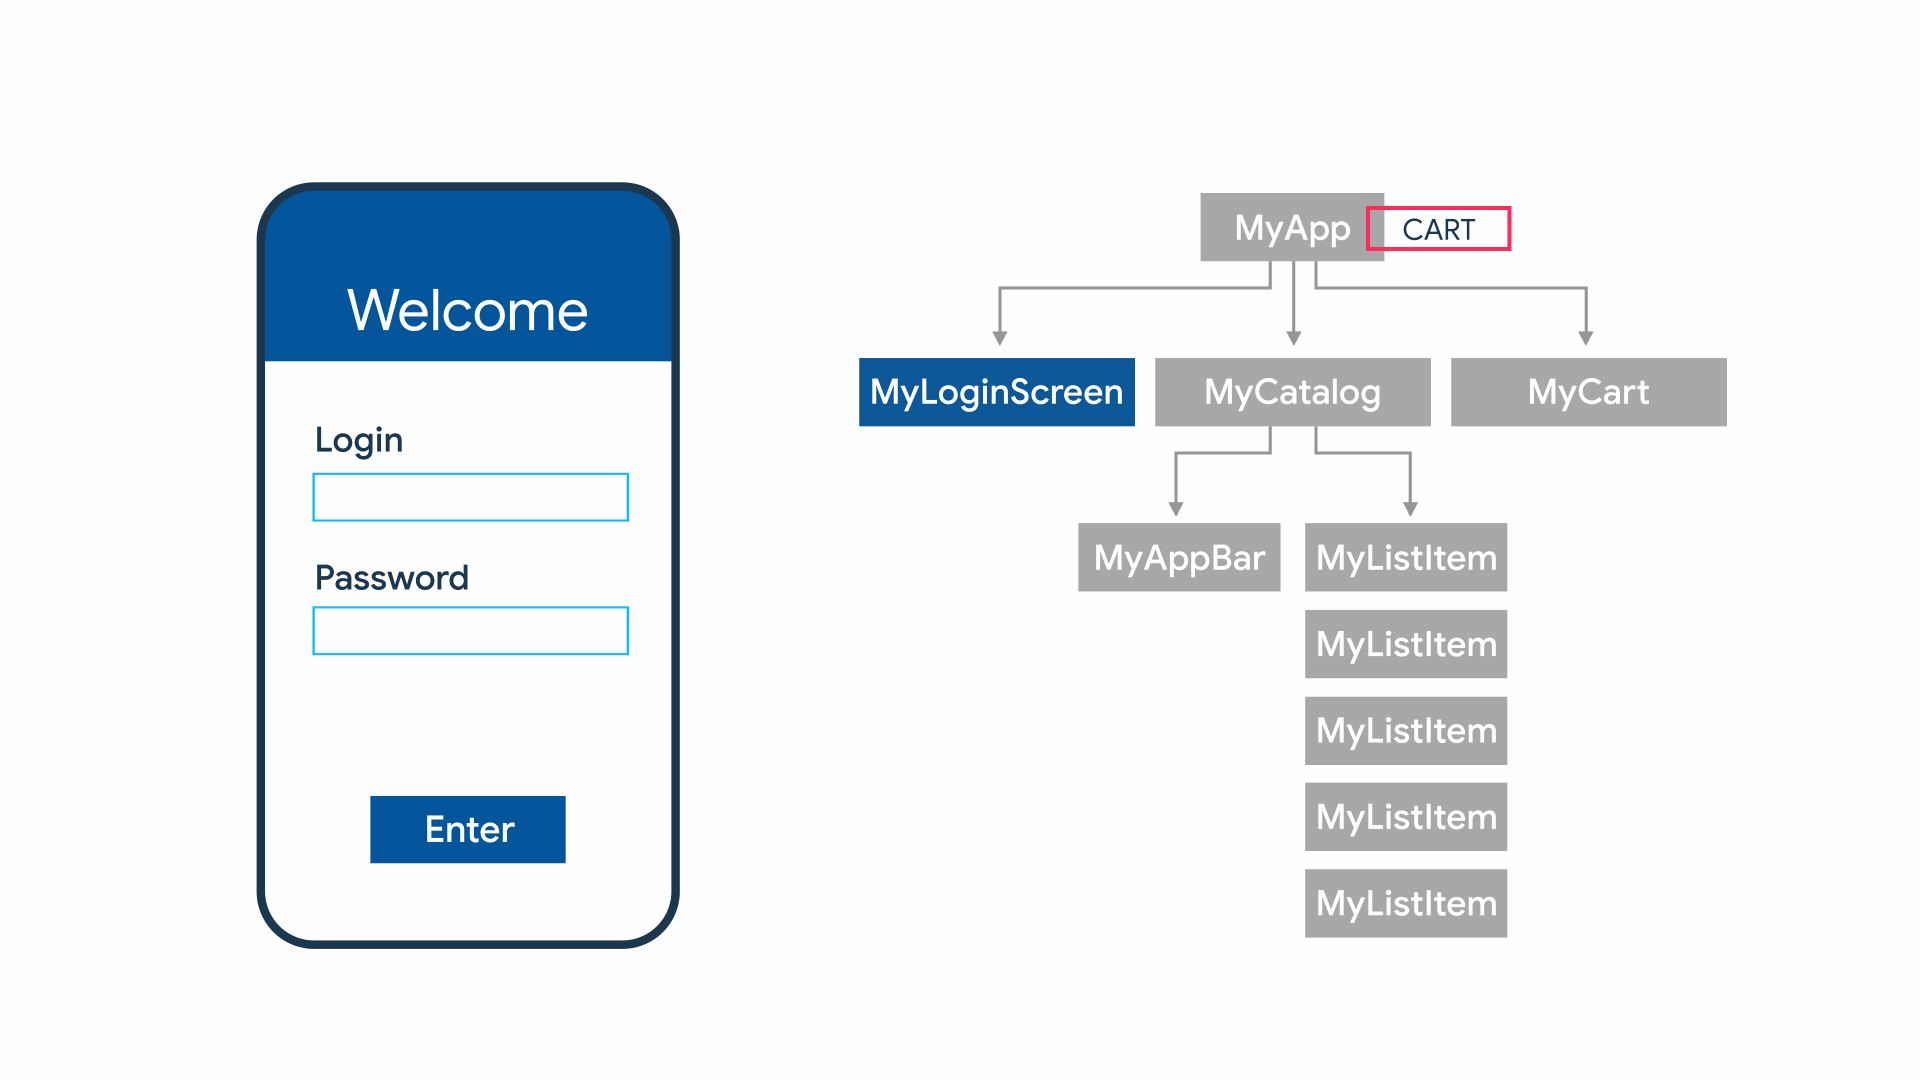
State management is a crucial aspect of building Flutter applications, after all, your mobile application is nothing but a collection of widgets that are updated based on the state of the application.
If you are familiar with React, you will find that Flutter’s state management is similar in many ways, in fact many of the state management libraries in Flutter are inspired by React’s state management libraries.
Understanding state management is yet again another challenge for beginners, but it’s usually the most important concept to understand when building mobile applications.
As a Python/Django developer, we usually do not care about state management, the Django framework takes care of that for us, but once you get the hang of it, you will better understand frontend SPA frameworks like React and Vue and mobile frameworks like Flutter and React Native.
Diving into State Management
In the broadest sense, the state of an app includes everything in memory while the app is running, like UI variables, animation states, textures, and fonts. However, this definition is too broad for app architecture.
A more useful definition of state is: the data needed to rebuild your UI at any moment. This state can be divided into two types: ephemeral state and app state.
Ephemeral State
Ephemeral (or UI/local) state is contained within a single widget. Examples include:
- Text in a
TextField - Visibility of a widget
- The current page in a
PageView - Progress of an animation
- Selected tab in a
BottomNavigationBar
This type of state doesn’t need to be shared across widgets or persist between sessions. You can use StatefulWidget and setState() to manage it, as it’s isolated within the widget.
App State
App state is data shared across multiple parts of the app or kept between user sessions. Examples include:
- User preferences
- Login information
- Shopping cart contents
- Notifications and alerts
Managing app state requires more robust solutions, like Provider, Redux, or Riverpod. The choice of state management depends on the complexity and needs of your app.
Choosing Between Ephemeral and App State
There’s no strict rule for deciding whether data is ephemeral or app state. It often depends on the use case. As your app grows, ephemeral state might need to become app state.
In summary, ephemeral state is local to a widget, while app state is shared or persistent. Both have their place, and the choice between them depends on the app’s complexity.
Where to Go From Here
Flutter is a powerful framework for building cross-platform applications, and I am confident that it will continue to grow in popularity, but we only scratched the surface of Flutter in this article, if you are new to Flutter here are some resources to help you get started:
Flutter Documentation: The official documentation is a great place to start learning Flutter. It covers everything from installation to advanced topics like state management and animations.
Flutter Cookbook: The cookbook provides recipes for common Flutter tasks, such as working with forms, handling navigation, and using plugins.
Code With Andrea: Andrea Bizzotto’s blog is my go-to resource for advanced Flutter tutorials and best practices, tips and tricks, you can also buy his courses on the website.
Credits
Illustrations were taken from the Flutter documentation and the Dashatar website.
In some parts of the article, I used the Flutter documentation as a reference, Code With Andrea for the best practices and tips and tricks.